The first thing you need to do in order to start using MidiPads is to set up your device as a Midi controller.
First, connect your device to your Desktop computer via a USB cable.
When you connect the USB cable to the desktop, you get a new notification in your mobile divce which allows you to change the USB protocol
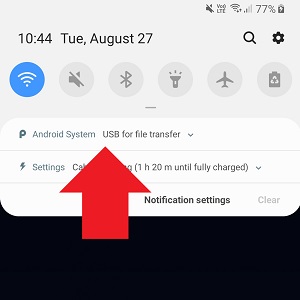
Click on it to select the USB protocol
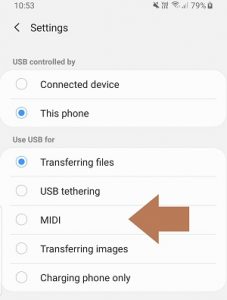
Then, from the list, select “MIDI”.
Note: If the option “MIDI” is not on the list:
- 1. Open MidiPads.
- 2. Click on settings

- 3. Select “Developer settings”
- 4. find an option called “Select USB configuration” and change it to MID
![]()
![]() When the device is connected and set to MIDI correctly, The midi indicator will change color from red to green
When the device is connected and set to MIDI correctly, The midi indicator will change color from red to green
Now, when your device is connected to your computer and set as a Midi device, it is time to pair it with your DJ software.
In order for the DJ Software to work with DJ MIDI Pads:
- DJ MIDI Pads need to load the right board (Board is the layout and skin of the app)
- The DJ Software needs to be mapped so that the MIDI commands, transmitted from DJ MIDI Pads will translate to the right functions in the software
Some of the DJ programs are natively supported by DJ MIDI Pads. In this case, a default board will automatically be configured and you will be provided with a Midi mapping file for the DJ Software, If not, you will have to do it manually.
Here is how you pair the software:
- Launch your DJ software on your PC.
- On “DJ MIDI Pads”, press the “Help”
 button and choose “DJ Software Pairing”
 - Choose the DJ software you are using from the list, If it is not on the list, choose “other”
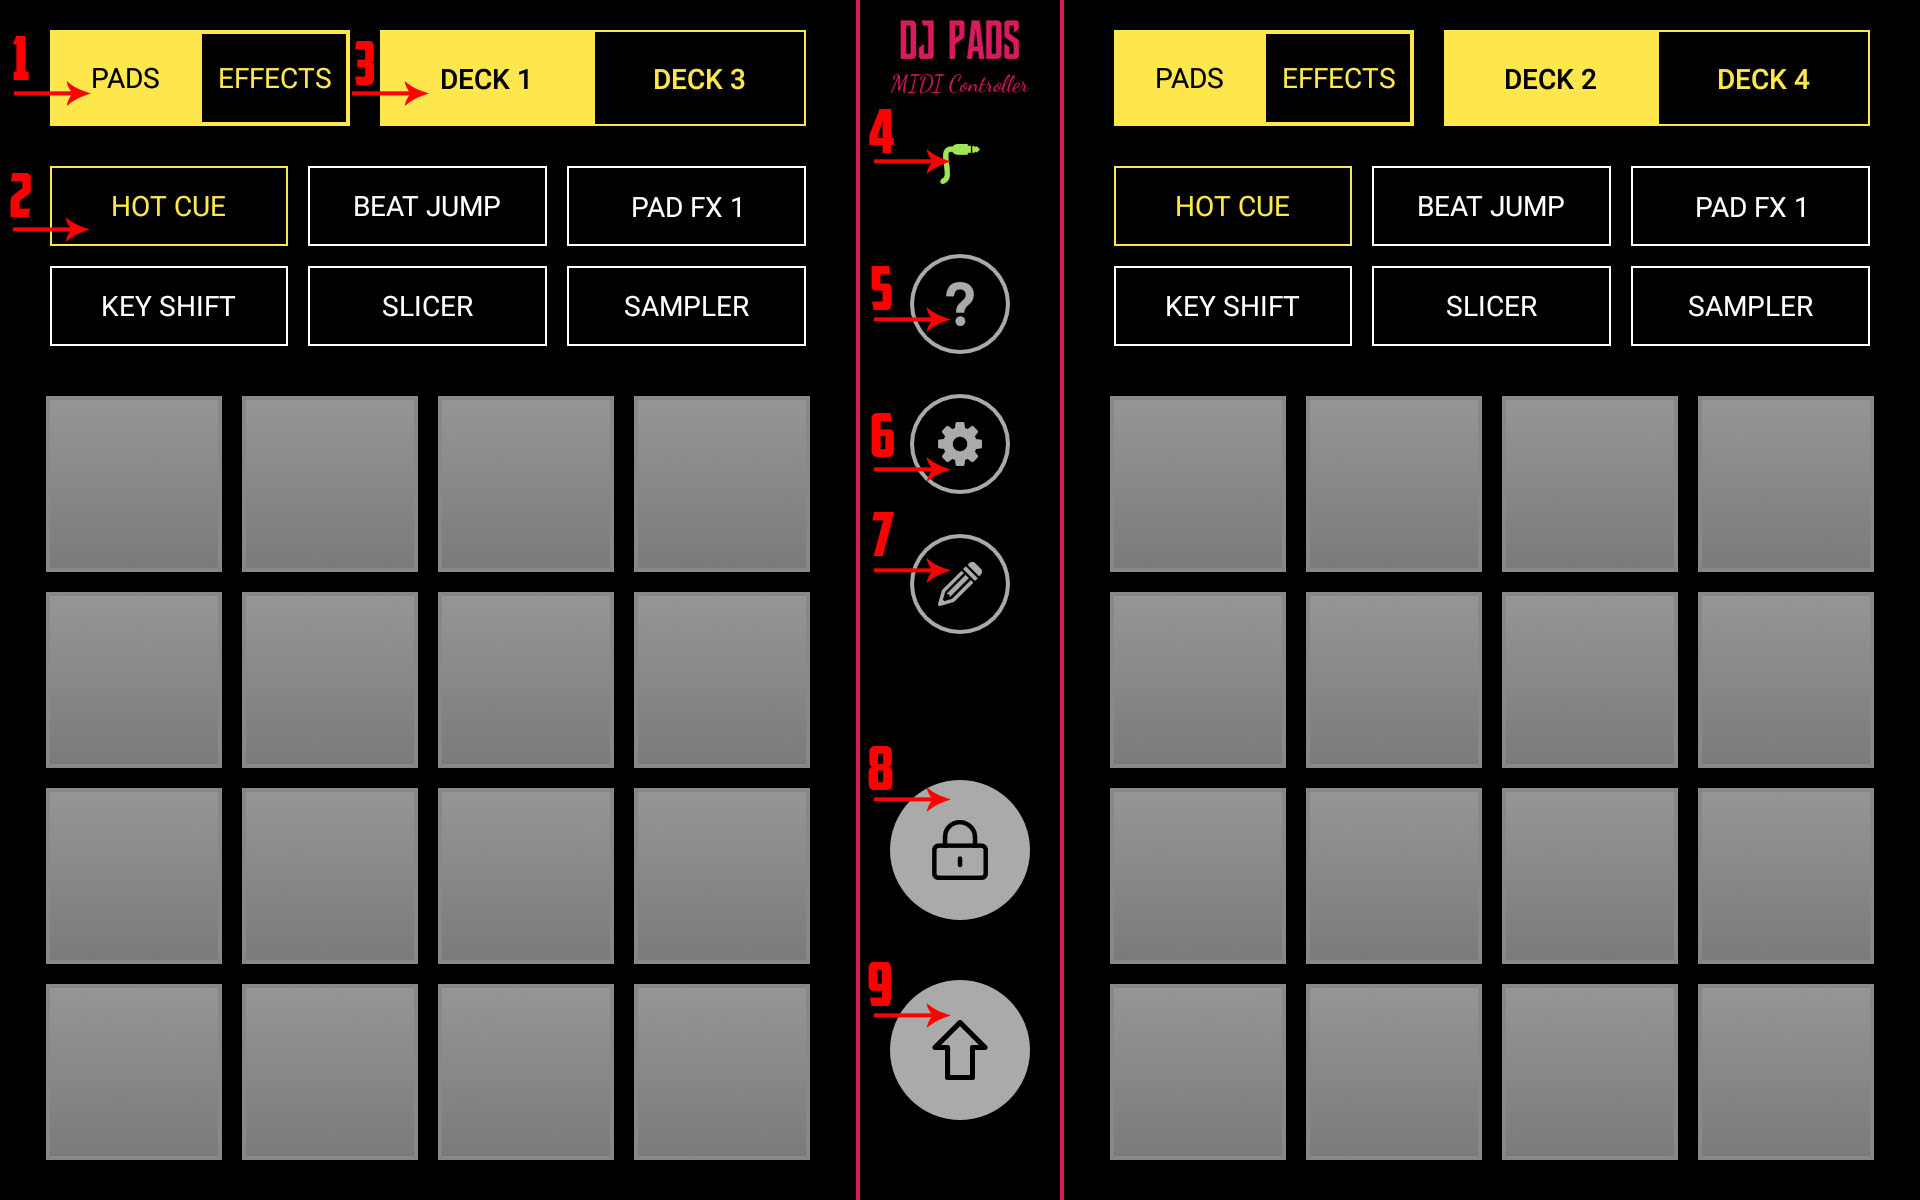
- Change between pads and effects
- Selects different Modes
- Select decks – In small screens, deck 3 and 4 are accessed via the shift button
- Midi connection indicator – turns green when connected
- Help
- Settings
- Edit – Hold and click on other controls (like pads, mode buttons, knobs, labels) together to edit
- Lock – Hold and click on a pad to keep it pressed, click on the pad again without the lock to release it. Holding the pad first then the lock works as well
- Shift – hold while clicking on other controls to launch their alternative functions
Click on the Settings ![]() button to open the settings window
button to open the settings window
![]()
Import/Export Reset Board: you can use this in order to save or load the board to a file. a board is the layout and skin of the app. this includes the colors, labels and midi settings (notes). “Reset” will load the app’s default board.
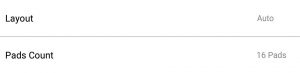
Layout: 1/2 deck on the screen or auto(selects the layout according to the screen size)
![]()
Vibration: Sets vibration feedback for taping on pads, NOTE: this will not work on devices without vibration motor like tablets.
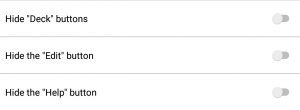
Hide Buttons: This allows you to hide unused buttons to prevent miss-clicking
- Make sure your mobile device is connected as a midi device and Rekordbox is running.
- Download the mapping file from here: rekordbox.csv
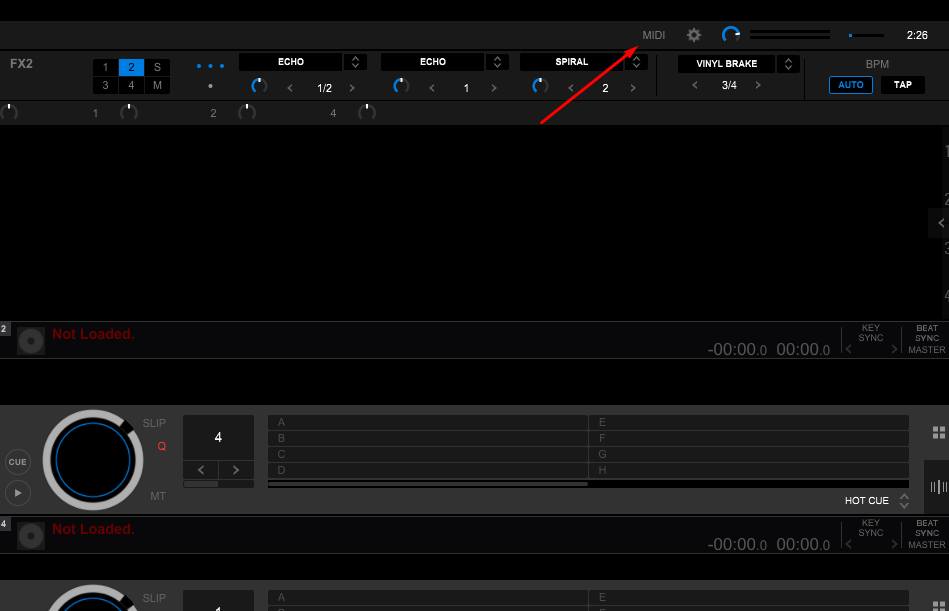
- Press on the MIDI button on the top-right corner in Rekordbox
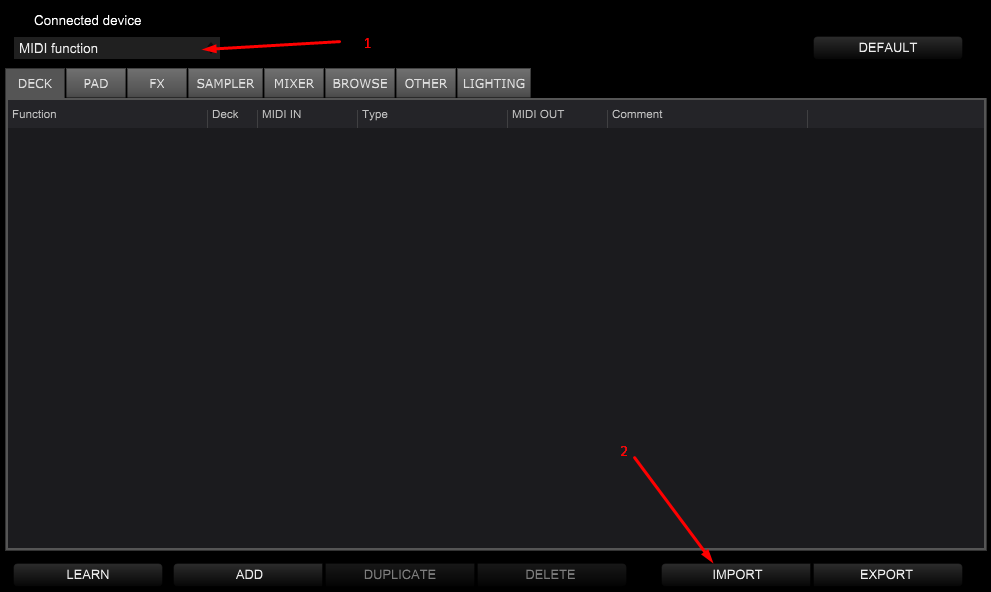
- Choose “Midi function”, then press “Import” and choose the mapping file
That’s it, you are ready to go 🙂